

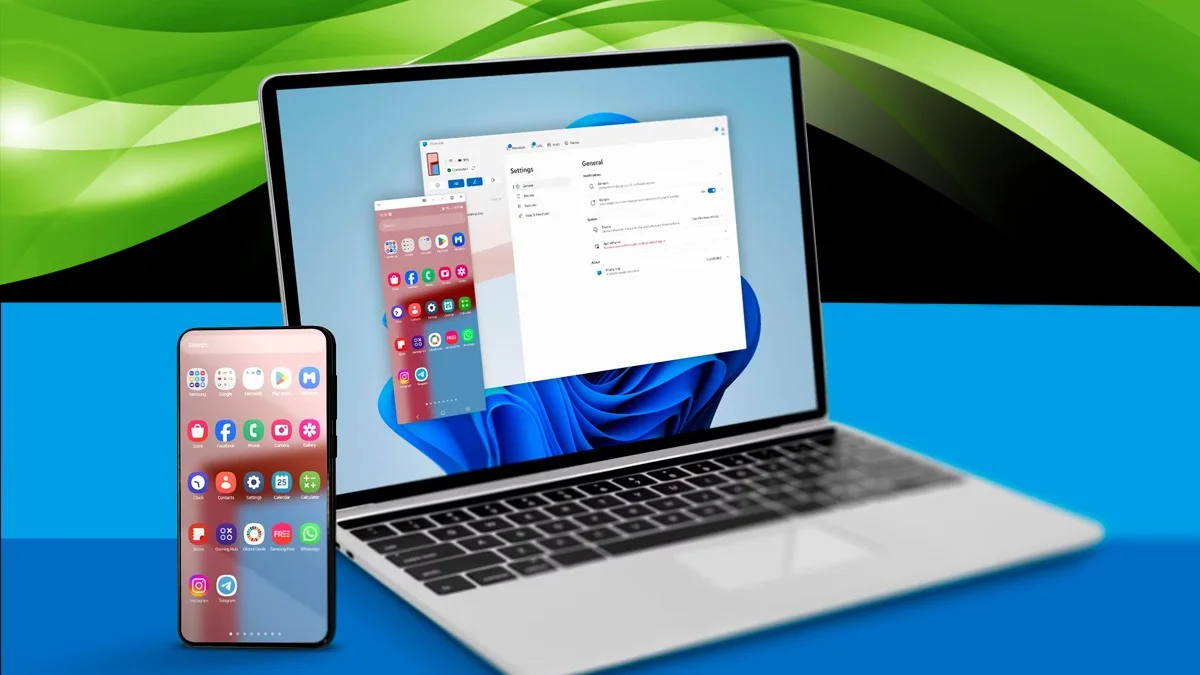
These days, Android phones are basically like mini computers. You can check your email, use productivity apps like Google Docs and Sheets, and do a whole lot more. But sometimes, it’s just easier to use those apps on a Windows PC or laptop.
After all, most of us spend the day working on our laptops, and it’s often simpler to manage files, photos, and documents when they’re right there on the bigger screen. So, this guide will walk you through how to connect your Android phone to your Windows computer.
Before we start, make sure you have a Windows laptop or PC and an Android phone ready. If you don’t have one (or both), you might want to check out our guides on the best Android phones and best laptops to buy right now. Once you’re set, keep reading to link your two devices together.
Connect Your Android Phone to a Windows PC with Phone Link
Tools and Requirements
Here’s what you’ll need to get started:
-
An Android phone running Android 8.0 or later
-
A PC or laptop with Windows 11, or Windows 10 with the May 2019 update or newer
-
A Wi-Fi router that both your phone and PC are connected to
-
The Phone Link app installed on your Windows device
-
The Link to Windows app installed on your Android phone
Quick Steps to Connect Your Android Phone to a Windows PC
Usually, Phone Link and Link to Windows apps come pre-installed on Windows and Android devices. So connecting them should only take a couple of minutes.
-
Search for Phone Link on your Windows PC and open it.
-
When asked, pick Android as your phone type.
-
Open your phone’s camera and scan the QR code shown on your Windows screen.
-
Enter the code displayed on your PC into your phone.
-
Follow the last on-screen steps and accept any permissions.
Step-by-Step Guide
-
On your Windows PC or laptop, click the magnifying glass icon on the taskbar to open search. Type ‘Phone Link’ or ‘Windows Link’. The app should pop up as the top result, click to open it.
-
When the app asks which phone you’re using, select Android.

-
You’ll see a QR code on your PC screen, valid for 10 minutes. Open your phone’s camera app and scan it. If your camera doesn’t support QR scanning, you can use a separate app. Tap the link that appears on your phone.
-
A code will show up on your PC for three minutes. Enter that code on your phone to continue.
-
Finally, accept all the permissions requested on your phone. After this, your Android device will be connected to your Windows PC.
What Can You Do After Connecting Your Phone?
If you haven’t already connected your Android phone to your Windows computer, you should. It opens up lots of handy features.
Basically, Phone Link lets you see and use many of your phone’s functions right from your Windows device. If you want to stay focused and avoid getting distracted by your phone, this can really help.
One of the best features is seeing your phone notifications directly on your desktop. That means you won’t have to keep picking up your phone to check for messages or alerts, you can see them all while working on your PC.
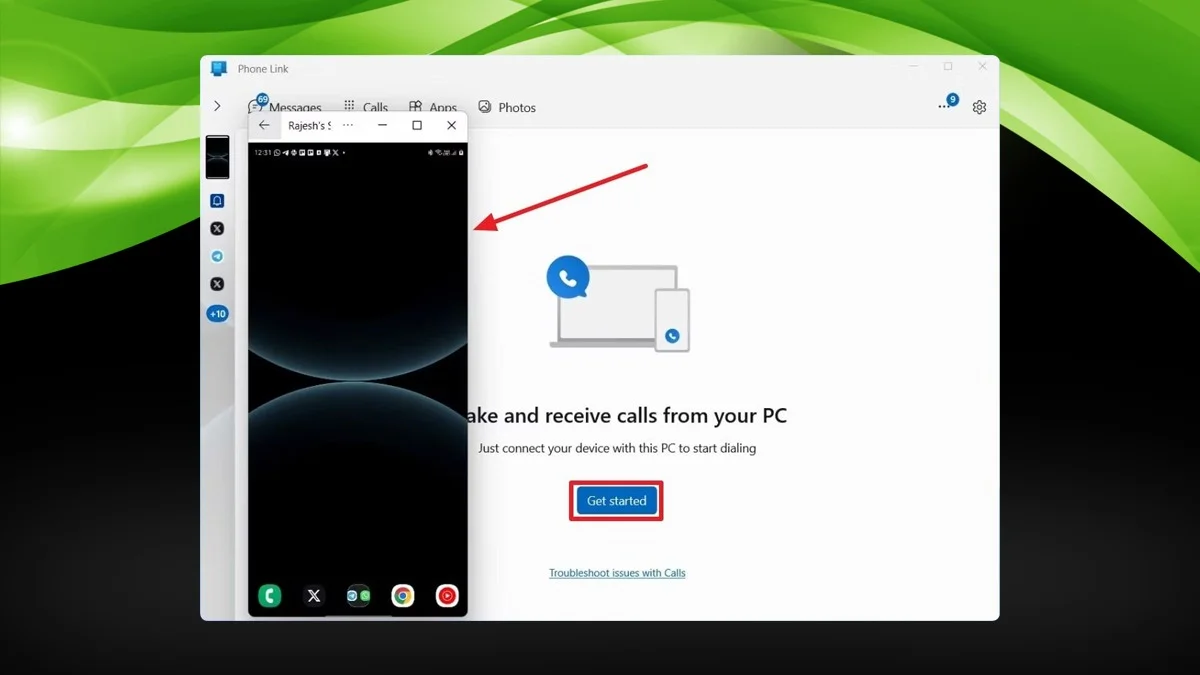
Even better, you can reply to many notifications right from your computer. Phone Link has tabs for Messages and Calls, so you can type replies on your keyboard and even make or answer calls.
There’s also a Photos tab that makes moving pictures or screenshots from your phone to your PC quick and easy. And a handy Apps tab lets you run any app installed on your phone right from your Windows screen. You’ll need to give permission on your phone each time you do this, but it’s useful if you want to check something like your workout stats without switching devices.
There are a few extra features too. You can use “Find my phone” to make your phone ring if you’ve misplaced it. Plus, you can control music playing on your phone straight from your computer.
All in all, connecting your Android phone to your Windows PC can really smooth out your workflow and make life a bit easier.