
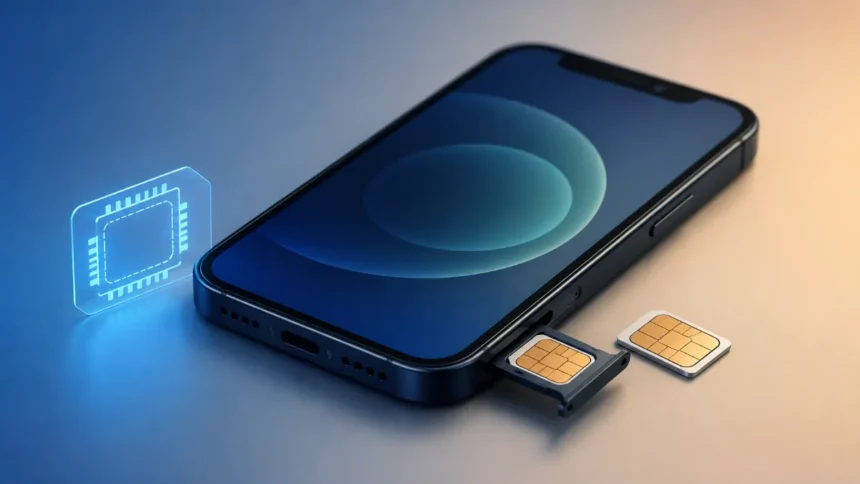
Dual SIM phones can use two phone numbers at the same time. This is helpful for keeping work and personal lines separate or adding a local number while travelling. This works with either two physical SIM cards (on phones that have a dual-SIM tray) or one physical SIM card and an eSIM (a digital SIM that is built into the phone).
Newer iPhones (US models from iPhone 14 onward) use eSIM-only setups, while many Android phones support either physical SIM + eSIM or other Dual SIM configurations.
- Dual SIM and eSIM Options at a Glance
- Before You Start
- Physical SIM vs eSIM: What’s the Difference?
- Setting Up eSIM on iPhone
- Setting Up Dual SIM (Physical + eSIM or Two Physical SIMs) on Android
- How Dual SIM Works on Your Phone
- Choosing Which Line Handles What
- Common Issues
- What Happens to Your eSIM When You Change Phones?
- Before Removing an eSIM or SIM
- Removing a Line
Dual SIM and eSIM Options at a Glance
| Setup | How It Works | Best For |
|---|---|---|
| Two Physical SIMs | Two SIM cards are inserted into the phone | Users who need two regular SIM cards |
| Physical SIM + eSIM | One physical SIM works alongside a digital eSIM | Work and personal numbers |
| Two eSIMs | Two digital SIM profiles are used on supported phones | Newer phones and frequent travellers |
Before You Start
- Check the phone’s specifications page to make sure it supports eSIM or dual SIM.
- Check to see if your carrier supports eSIM. Most major carriers do, but some prepaid and regional carriers don’t.
- Check whether your phone is carrier-locked. A locked phone may not allow you to use a second carrier’s SIM or eSIM.
- Make sure your Wi-Fi connection is stable while you set up.
- Prepare your eSIM activation code, QR code, or carrier app. These will be sent to you via email or text message, or you can find them in the carrier’s app after you buy the phone.
Physical SIM vs eSIM: What’s the Difference?
A physical SIM is a removable card that you insert into the phone’s SIM tray. An eSIM is a digital SIM profile that is built into the phone, so there is no physical card to insert.
An eSIM can be useful for frequent travellers because you can add another mobile plan without replacing the physical SIM.
Must Read: eSIM Vs SIM: Everything You Should Know Before Upgrading
Setting Up eSIM on iPhone
- To change settings, go to Cellular (or Mobile Data).
- Press “Add eSIM.”
- If your carrier’s app lets you do direct activation, choose Use QR Code and scan the code that comes with your phone. If not, choose Use Carrier App and do the same thing.
- To confirm the plan, do what it says.
- Under “Cellular Plans,” give each line a name, like “Personal” and “Work.”
- You can choose which number handles calls and texts by default under “Default Line.” You can also choose which line uses cellular data.
- If you want to use iMessage or FaceTime on both lines, go to Settings > Messages/FaceTime and make sure that both numbers are shown.
Setting Up Dual SIM (Physical + eSIM or Two Physical SIMs) on Android
The steps are a little different depending on the brand (Samsung, Google Pixel, OnePlus, etc.), but here’s how it usually works:
- Put in the second physical SIM card if you already have one. Turn off the phone, insert the card through the tray, and then turn it back on.
- To get to SIMs (or SIM Manager), go to Settings > Network & Internet (or Connections on a Samsung phone).
- Look for an option such as “Add eSIM” or “Download a SIM” to add an eSIM. Then, either scan the QR code from your carrier or enter the activation information by hand.
- Once both lines appear, name each one for clarity.
- Pick a line that will be used for calls, texts, and mobile data. You can also pick separate lines for each, like one for calls and one for data.
- Toggle each SIM card on or off separately if you want to temporarily turn one off (this can save battery life or keep you from having to pay roaming fees).
How Dual SIM Works on Your Phone
Both numbers can stay available on the same phone, but the exact way they work depends on the phone model and carrier. You can choose which line handles calls, texts, and mobile data.
For example, you can use your personal number for calls and texts and your work line for mobile data. When travelling, you can keep your main number active and use a local eSIM for data.
Choosing Which Line Handles What
You can assign, per line, on both platforms:
- Voice calls: Which number rings first?
- Messages: Which number automatically sends and receives SMS?
- Mobile data: Choose which SIM uses cellular data. Most phones allow only one SIM to be used for mobile data at a time.
You can usually change these for each contact. For example, you could set your phone to always call a certain person from your work line, no matter what the default is.
Common Issues
- Some carriers only let you scan one QR code at a time, so the code won’t work. To activate it manually if it has already been used, call the carrier and ask for a new code.
- When the eSIM doesn’t show up after activation, restart the phone and remove and re-add the eSIM profile if it still doesn’t show up.
- There is no cellular data on the second line. Make sure that line’s data roaming is turned on if you’re not on your home network, and make sure that the right line is set as the data line.
- If calls are coming from the wrong number, check the default voice line and the preferred SIM setting for that contact.
- If one SIM shows No Service, check whether the SIM is enabled, the carrier supports the network on that device, and the phone has the correct network settings.
What Happens to Your eSIM When You Change Phones?
Your eSIM profile does not physically move to the new phone. When you switch phones, you’ll usually need to transfer the eSIM using the phone’s transfer option or set it up again through your carrier’s app or a new QR code.
Before Removing an eSIM or SIM
Before deleting an eSIM profile, make sure you know how you will activate the number again. Some carriers may require a new QR code or another activation process.
Removing a Line
- On an iPhone, go to Settings > Cellular > Choose a plan > Remove eSIM.
- On an Android phone, go to Settings > Network & Internet > SIMs > Choose a plan > Remove/Delete.
The eSIM profile will be deleted from the phone. To get it back, you’ll need to activate it again through your carrier.
Visit Devicology for the latest Tech News, Guides, and in-depth Reviews. Follow us on Whatsapp, LinkedIn, X (Twitter) and Instagram to never miss an update!