
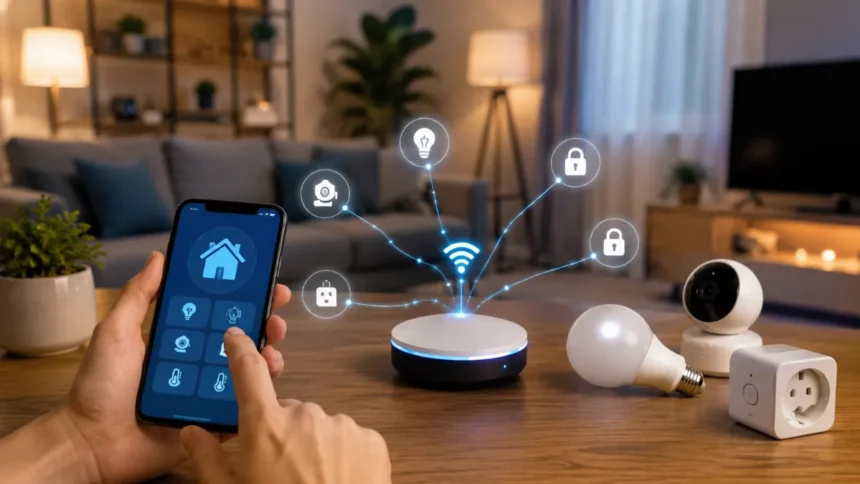
Lights, locks, thermostats, cameras, and plugs from different brands can all be controlled from one app thanks to a smart home hub. This is better than having five separate apps that can’t talk to each other. You can also set up automations, such as “good night” to turn off the lights, lock the doors, and lower the thermostat all at once.
As you can see, hubs can be either physical boxes like the Amazon Echo, Apple HomePod mini, Google Nest Hub, SmartThings, and Aqara, or they can be software-only apps that connect to devices over Wi-Fi or Bluetooth without any extra hardware. You might not need hardware just yet if you only have a few smart plugs or bulbs.
Before You Set Up Your Smart Home Hub
Before setting up your devices, choose an ecosystem that works well with your phone and the devices you plan to use.
| Smart Home Ecosystem | Best For | Phone Compatibility | Key Advantage |
| Apple Home | iPhone users | iPhone | Strong privacy settings |
| Google Home | Google and Nest users | Android and iPhone | Works with Nest products and Google Assistant |
| Amazon Alexa | Users who want broad device compatibility | Android and iPhone | Works with a wide range of devices |
How To Set Up Smart Home Hub: Step By Step Guide
Step 1: Pick an Ecosystem
- Apple Home works best with an iPhone and has strong privacy settings by default.
- Google Home can be used on both Android and iPhone, and it works with Nest products and Google Assistant.
- Amazon Alexa works with most of the devices and is usually the cheapest way to get started.
Also, before you buy anything, make sure it has Matter certification. Things that are Matter-certified can work with Apple, Google, and Amazon, so you aren’t limited to just one brand. Choose an ecosystem that works with your phone, buy Matter devices when you can, and don’t think about it anymore than you need to.
Must Read: Alexa Vs Google Home: Which is Better?
Step 2: Get the app
Set up an account for Apple Home, Google Home, or Alexa. Make sure that your Wi-Fi works with 2.4GHz. A lot of low-cost smart devices can only connect on 2.4GHz, not 5GHz. If your router splits the two bands into separate network names, note which is which before pairing devices.
Must read: Alexa Not Responding? Troubleshoot And Fix Guide
Step 3: Set Up the Hub (Skip if Software-Only)
For the best range, plug the hub in the middle of your home. Go to the app and tap “Add Device.” Then, follow the instructions as they appear. When setting up a device, it usually pairs via Bluetooth first and then to Wi-Fi. For this step, keep Bluetooth on.
Step 4: Add Devices
- Set the device to pairing mode by pressing a button or watching the lights blink.
- If there is a QR code or setup code, scan it. This will speed up the pairing process.
- Put it in a room. A lot of automations and voice commands are set up by room.
- Make the name clear (“Reading Lamp,” not “Lamp 2”).
Just add one or two at a time. It’s easier to fix one broken connection at a time than five at once.
Step 5: Build Automations
Start with basics. Porch light at dusk, slowly turning on bedroom lights in the morning, and a hallway light that turns on when motion is detected at night. “When X, do Y” rules are used by most apps. Automate not everything on the first day; a few good habits are better than a dozen that haven’t been tried yet.
Step 6: Secure It
Set up two-factor authentication, use a strong, unique password, and check for firmware updates through the app. These are small computers that are connected to your home network. Protect them the same way you protect your email account.
What to Expect?
Failures to pair, firmware update messages, and devices that need to try again are all normal and don’t mean you’re doing something wrong. Most problems can be fixed by restarting the device or router. Set aside an afternoon, begin small, and then grow.
Visit Devicology for the latest Tech News, Guides, and in-depth Reviews. Follow us on Whatsapp, LinkedIn, X (Twitter) and Instagram to never miss an update!